Card making is one of my absolute favorite crafts! Today I’ll be showing you step by step how to make an easy DIY card with very little crafting equipment!
One thing I especially love about this style of card is that it can be used for any occasion! Switching up the colors you use can make it suitable for specific birthdays, anniversaries or even Christmas. It all depends on the occasion you have at the time!
This is a style of card that I make quite often, mainly because it doesn’t take a lot of time yet still has that special handmade touch, plus it looks pretty good for an easy project, doesn’t it? 😊
Quick disclaimer– none of the supplies I use in this tutorial are sponsored in any way!! I would love to share with you where I got my supplies, but most of them have either been gifted to me or I’ve picked them up from thrift stores.😊
What You Need

- Card
- Cardstock in at least 2 coordinating colors
- Glue stick
- Stickers of your choice
- Pens (glitter pens recommended but optional)
- Letter stamps and ink (optional)
1. Choose a Theme
The first thing I do when I make a card is choose a color scheme to follow. For this particular card I chose pink, green and yellow. You can see this in my choice of cardstock, stickers, and even my pens!
TIP: Use the colors of the holiday or the favorite colors of the person who will receive your card!
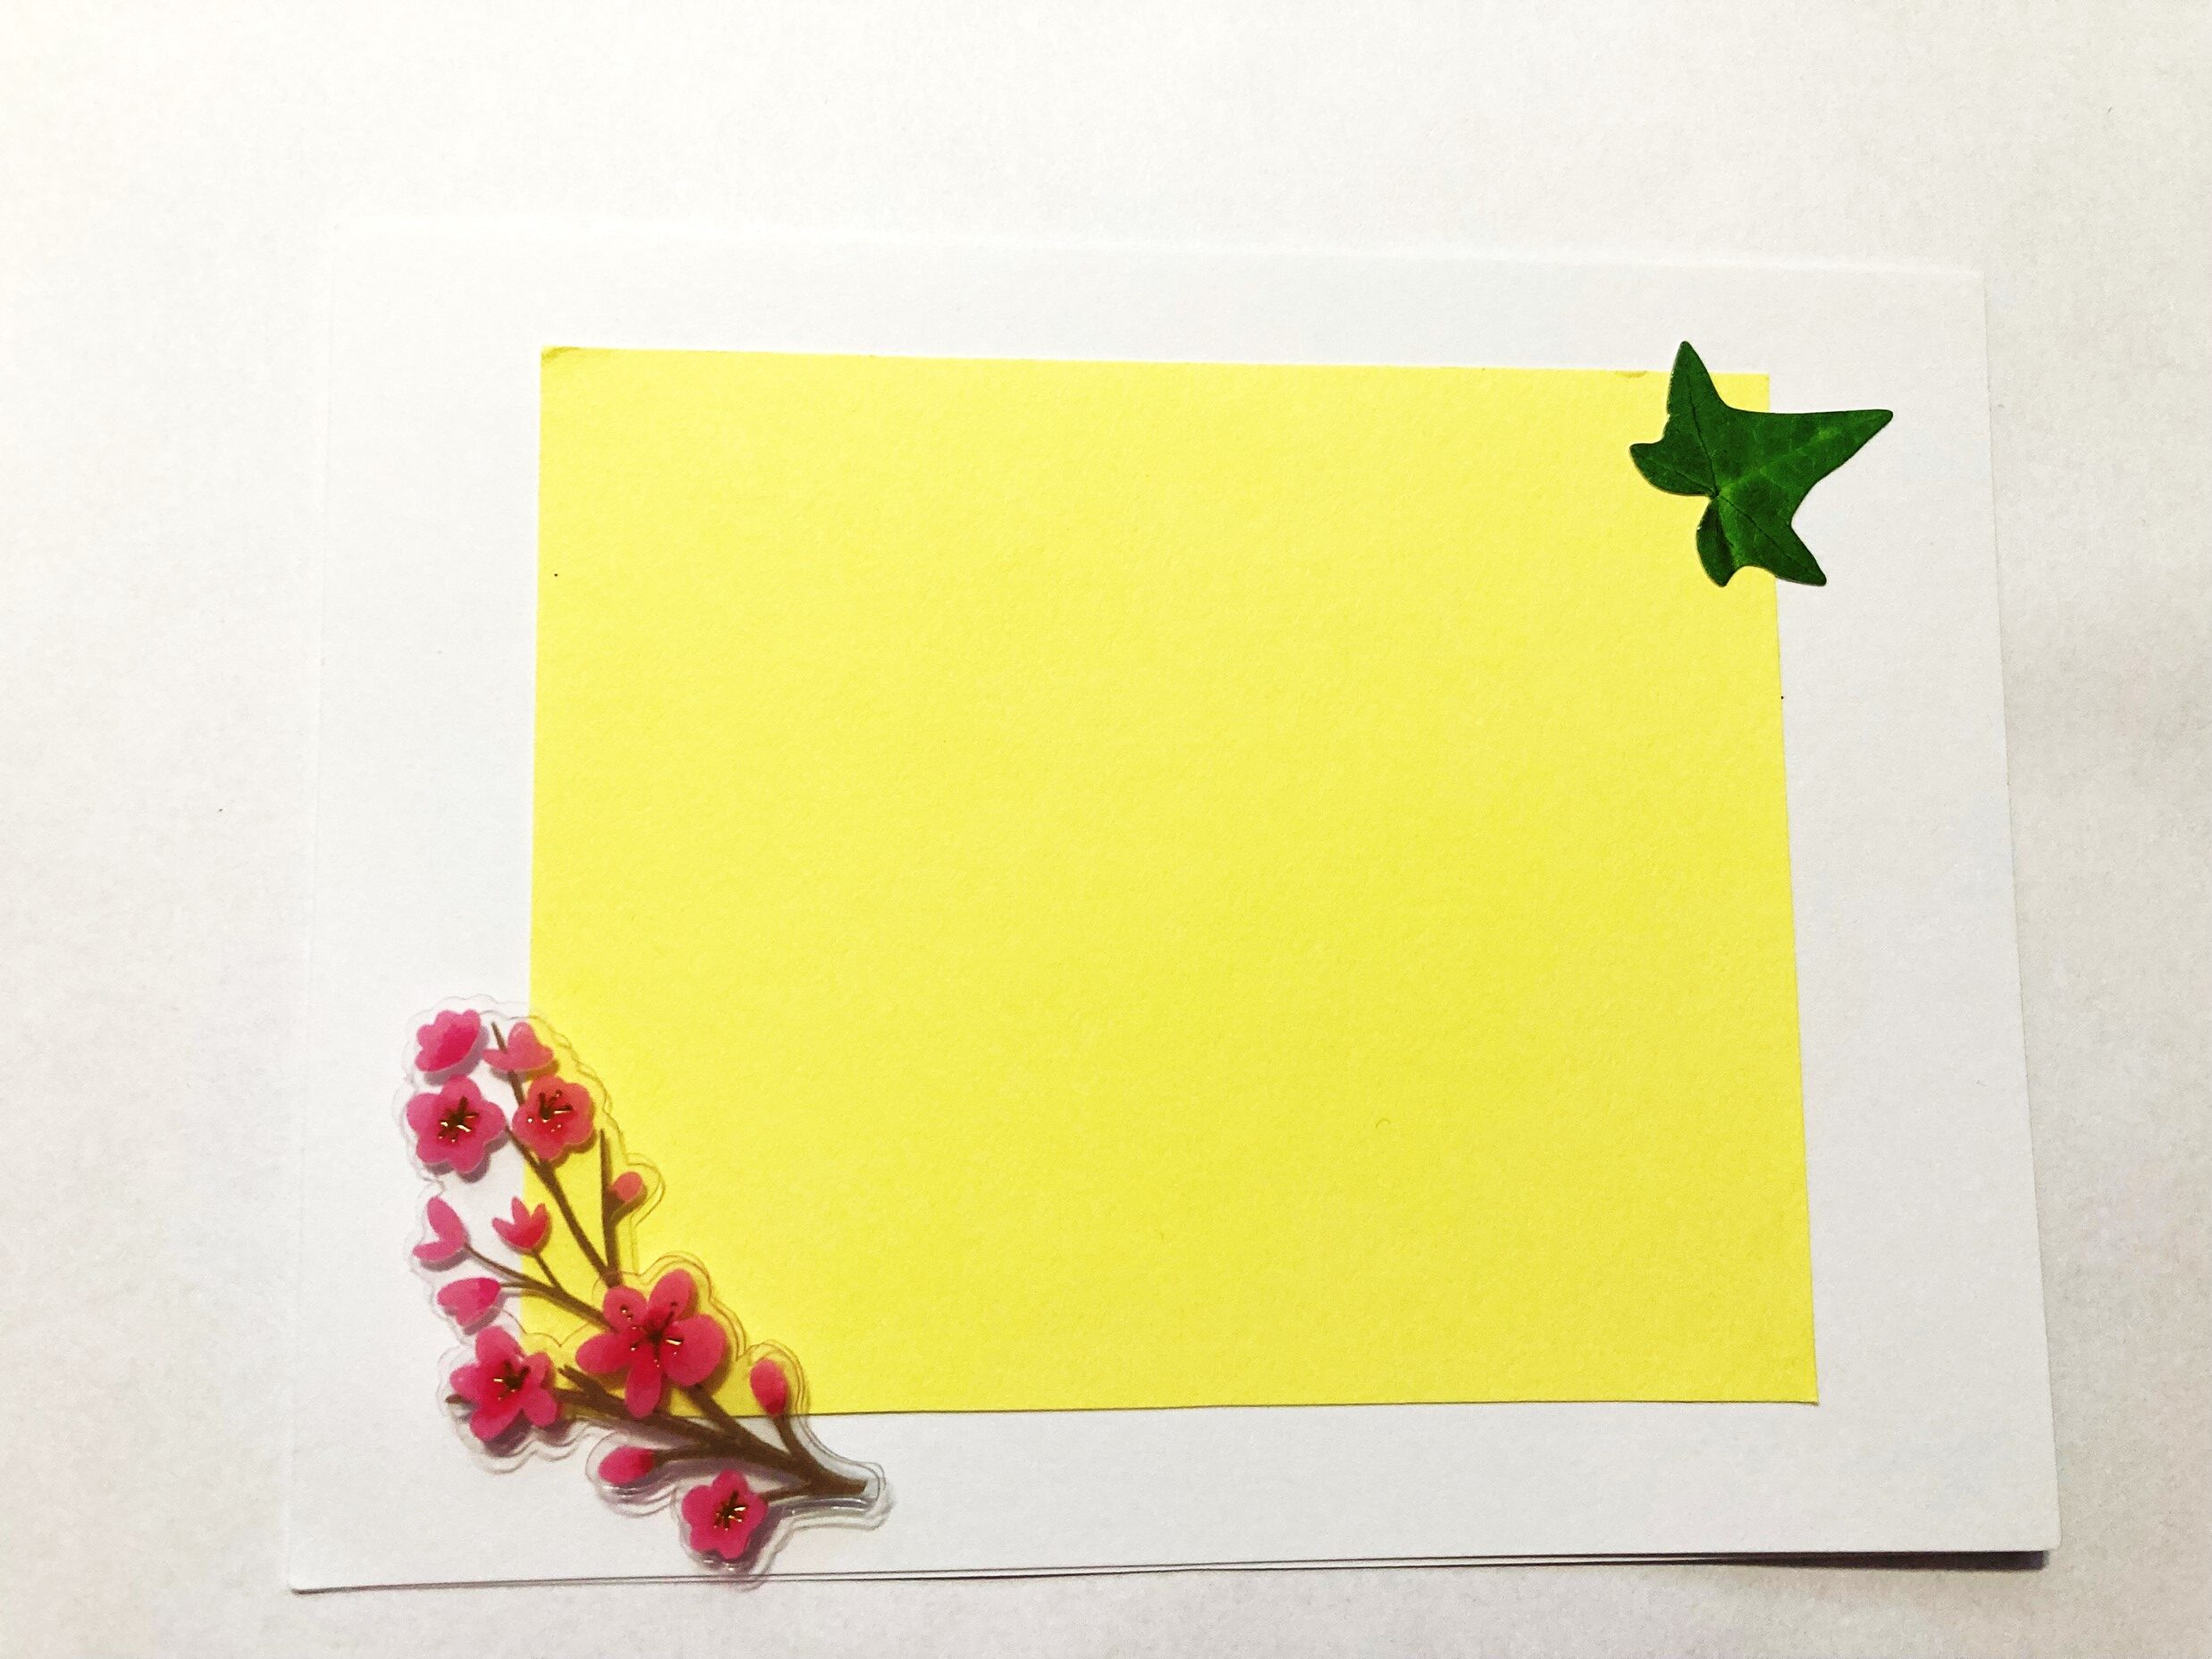
2. Cut a 4×3 Rectangle from Cardstock
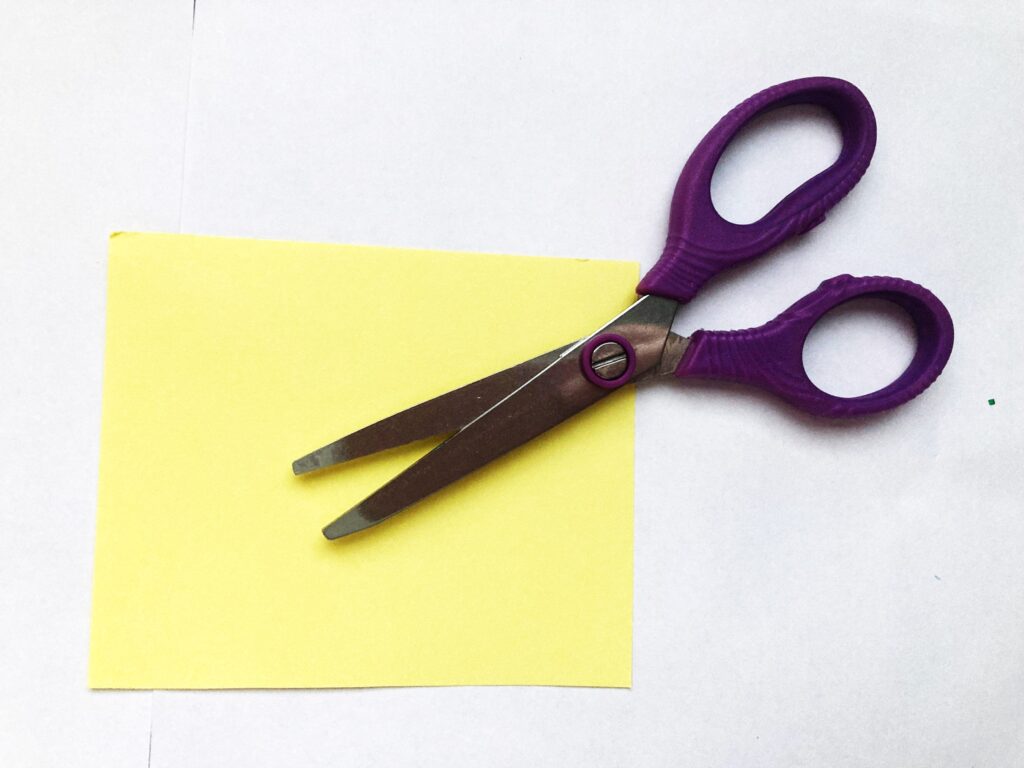
This will be the basis of the front of your card!
TIP: Use the brightest color from the color scheme you chose! I’ve found it easier to use dark colors on a bright background than vice versa.
3. Glue Rectangle to Front of Card

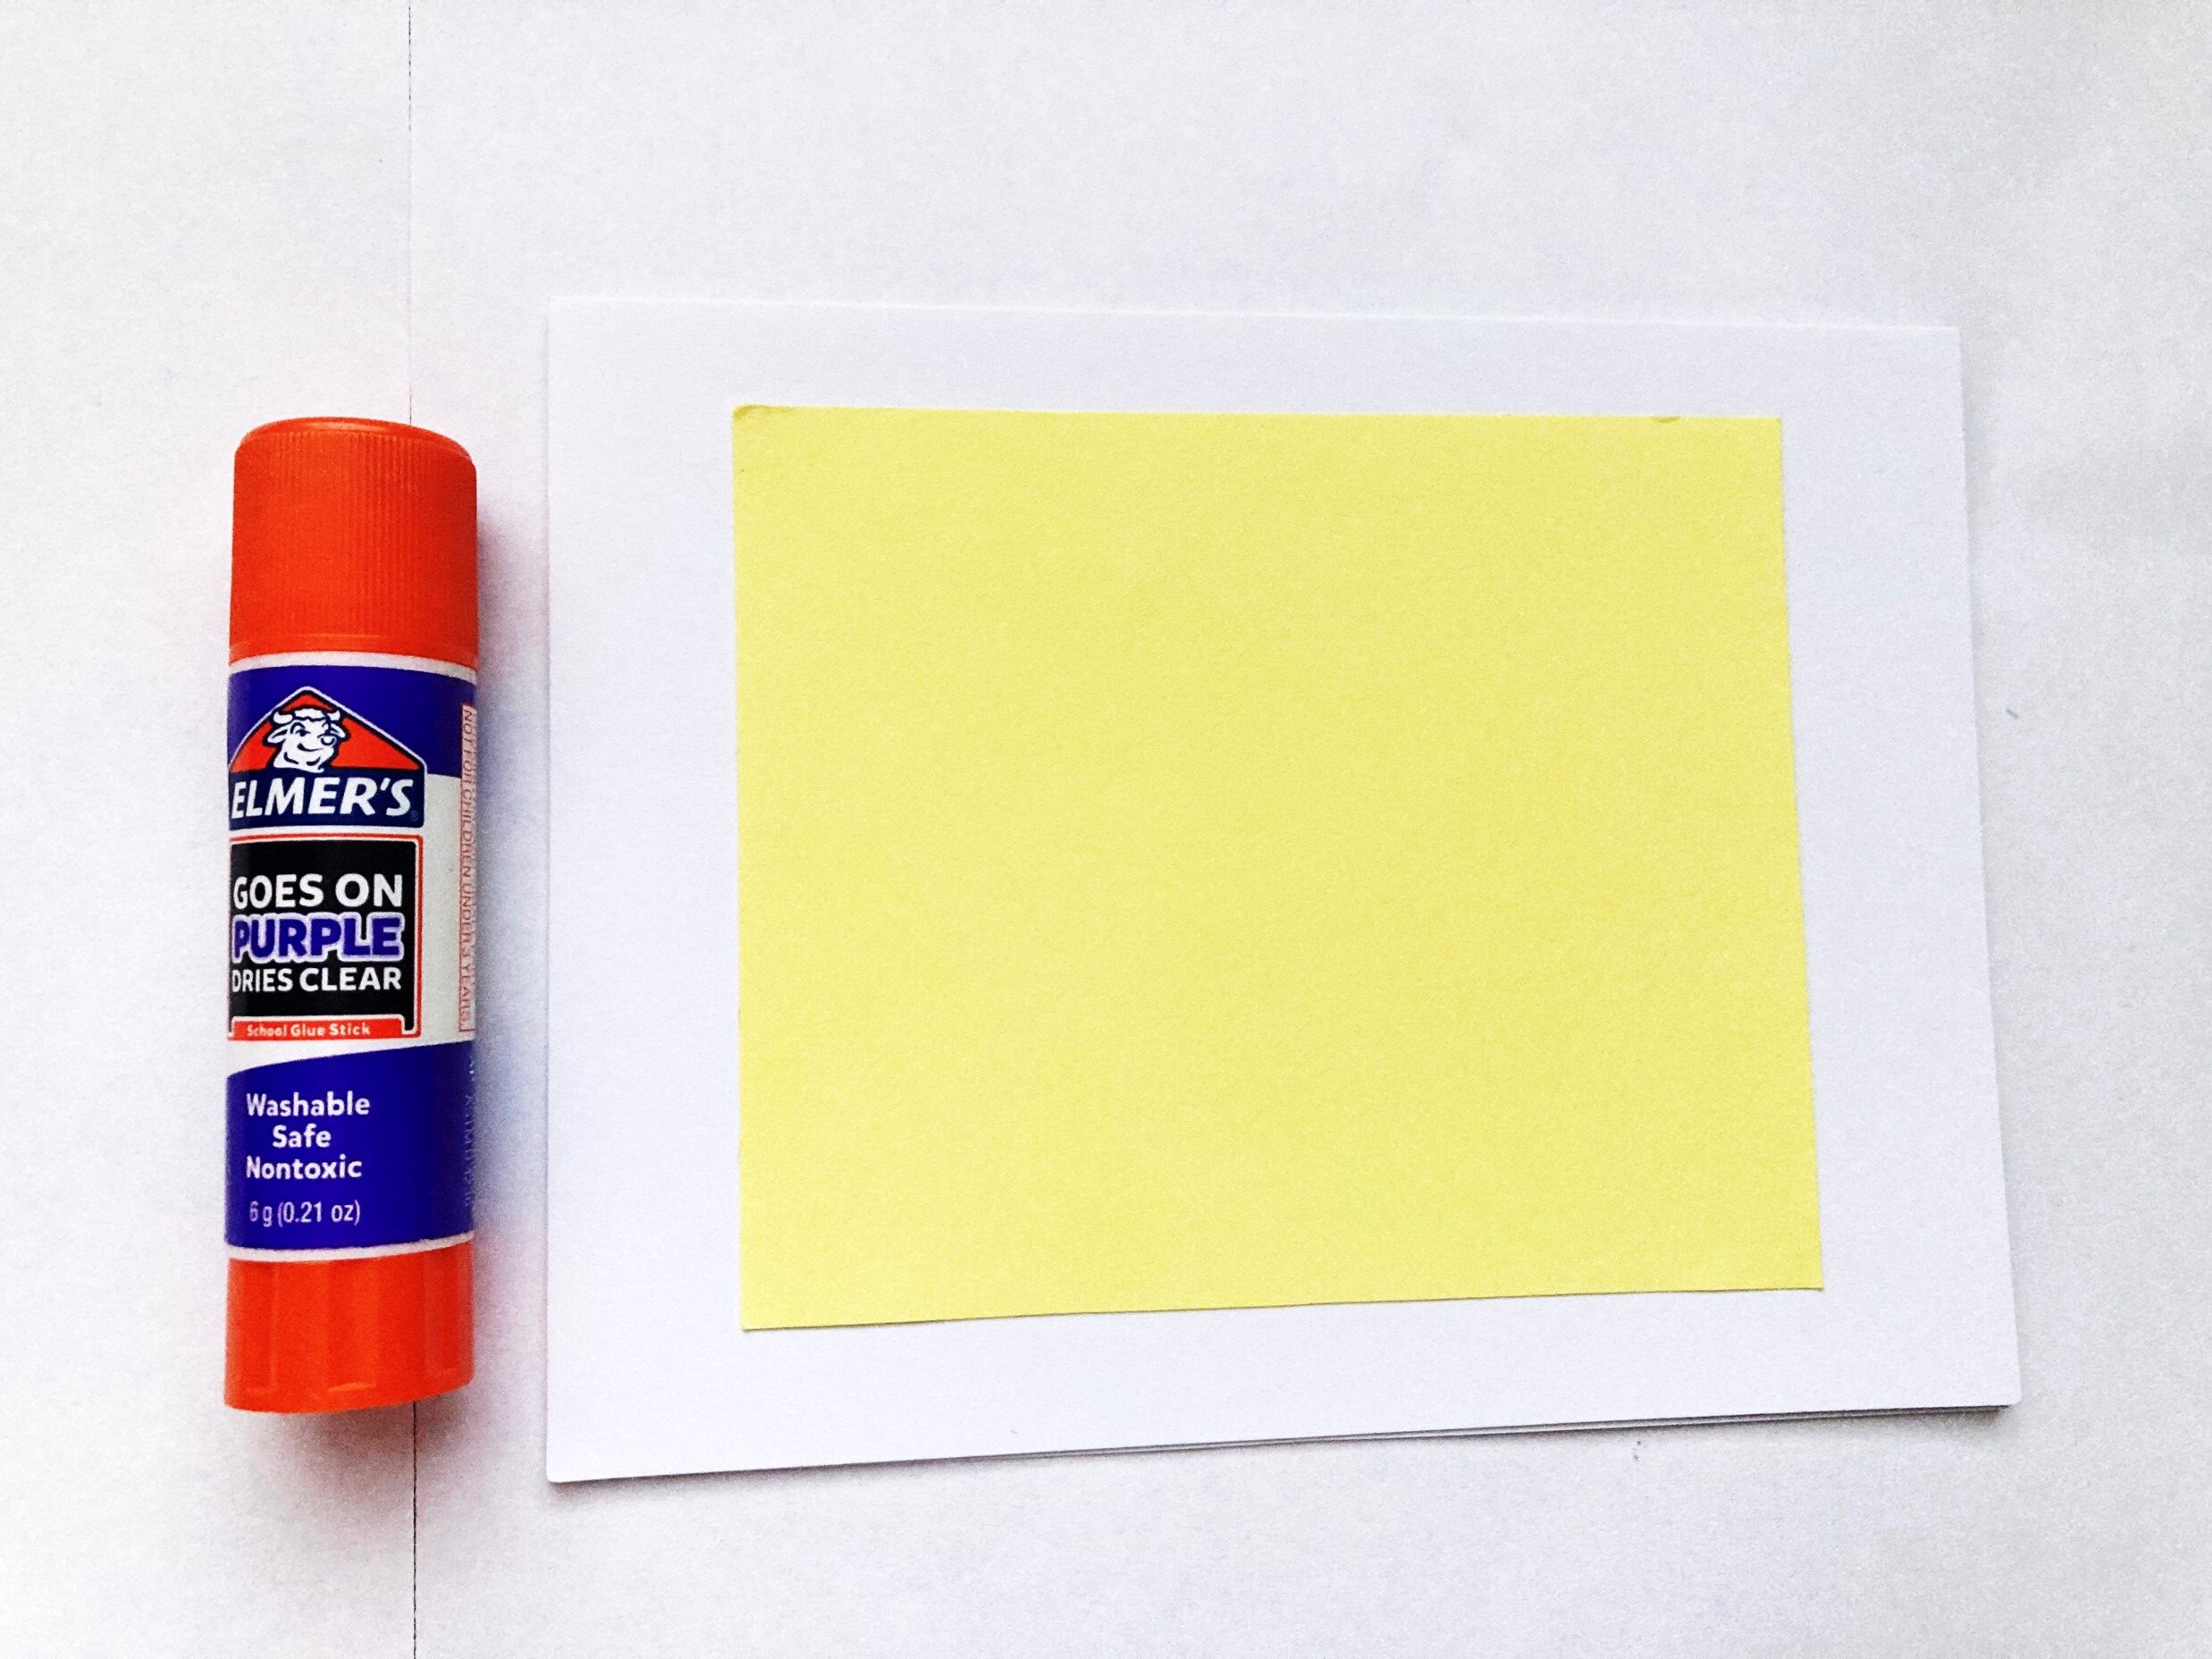
4. Add Stickers to Corners
Adding stickers to the corners of the front is a safe and pretty way to ensure that your card will look great without looking over the top.
Try using your coordinating colors here to create your color scheme you chose at the beginning!
TIP: Use 3D stickers on the front of your card to give it more life!
5. Draw an Outline Around Rectangle
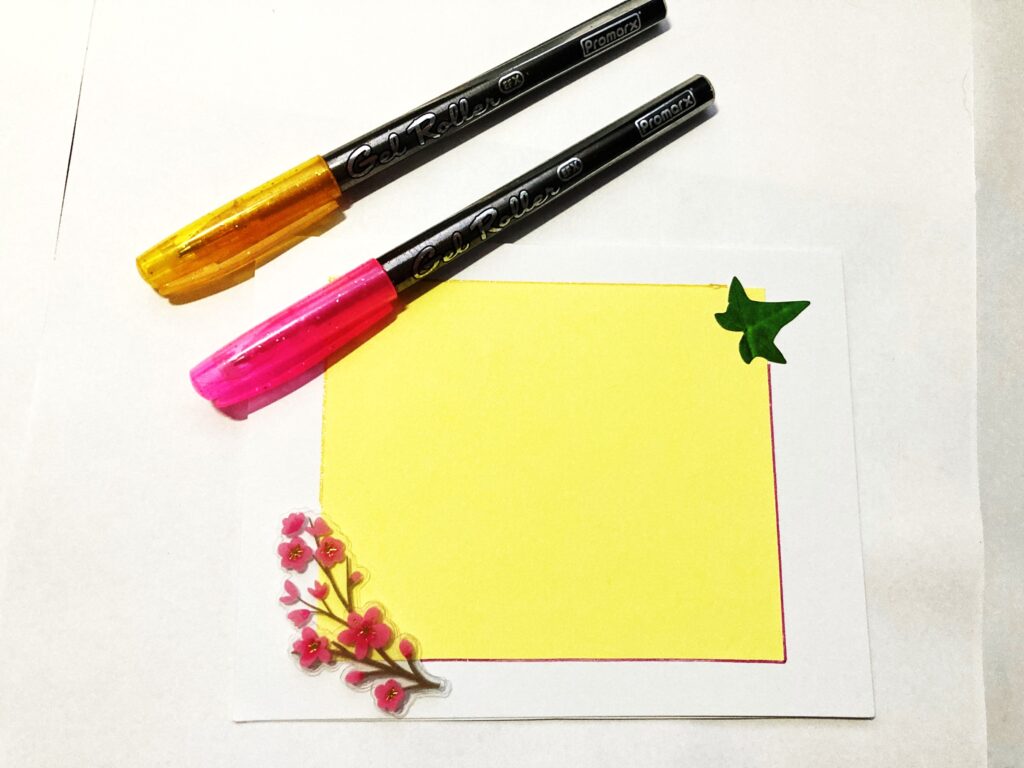
Outlining is one of my secret ways of making something look more finished.😊
Any pen will do for this step! For this card, I chose to use two different colors (two sides for each color) to go with my color scheme.
TIP: Use glitter pens (another favorite of mine!) to add more pizzazz to your card!
6. Write Greeting on the Front
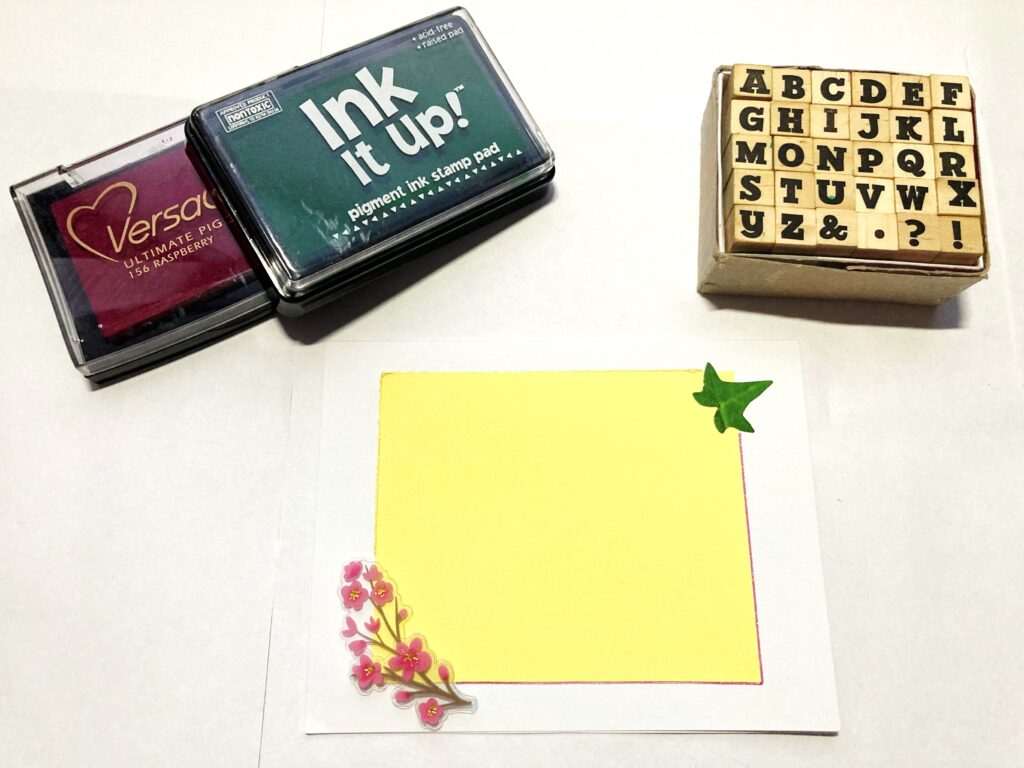
This can be directly about your occasion, such as Happy Birthday or Merry Christmas. I like to use the name of the person I’m creating the card for!
TIP: Use rubber letter stamps for a more finished look!
You’re now ready to move on to the inside of your card! There will be a lot more room for personalization for the rest of the tutorial.
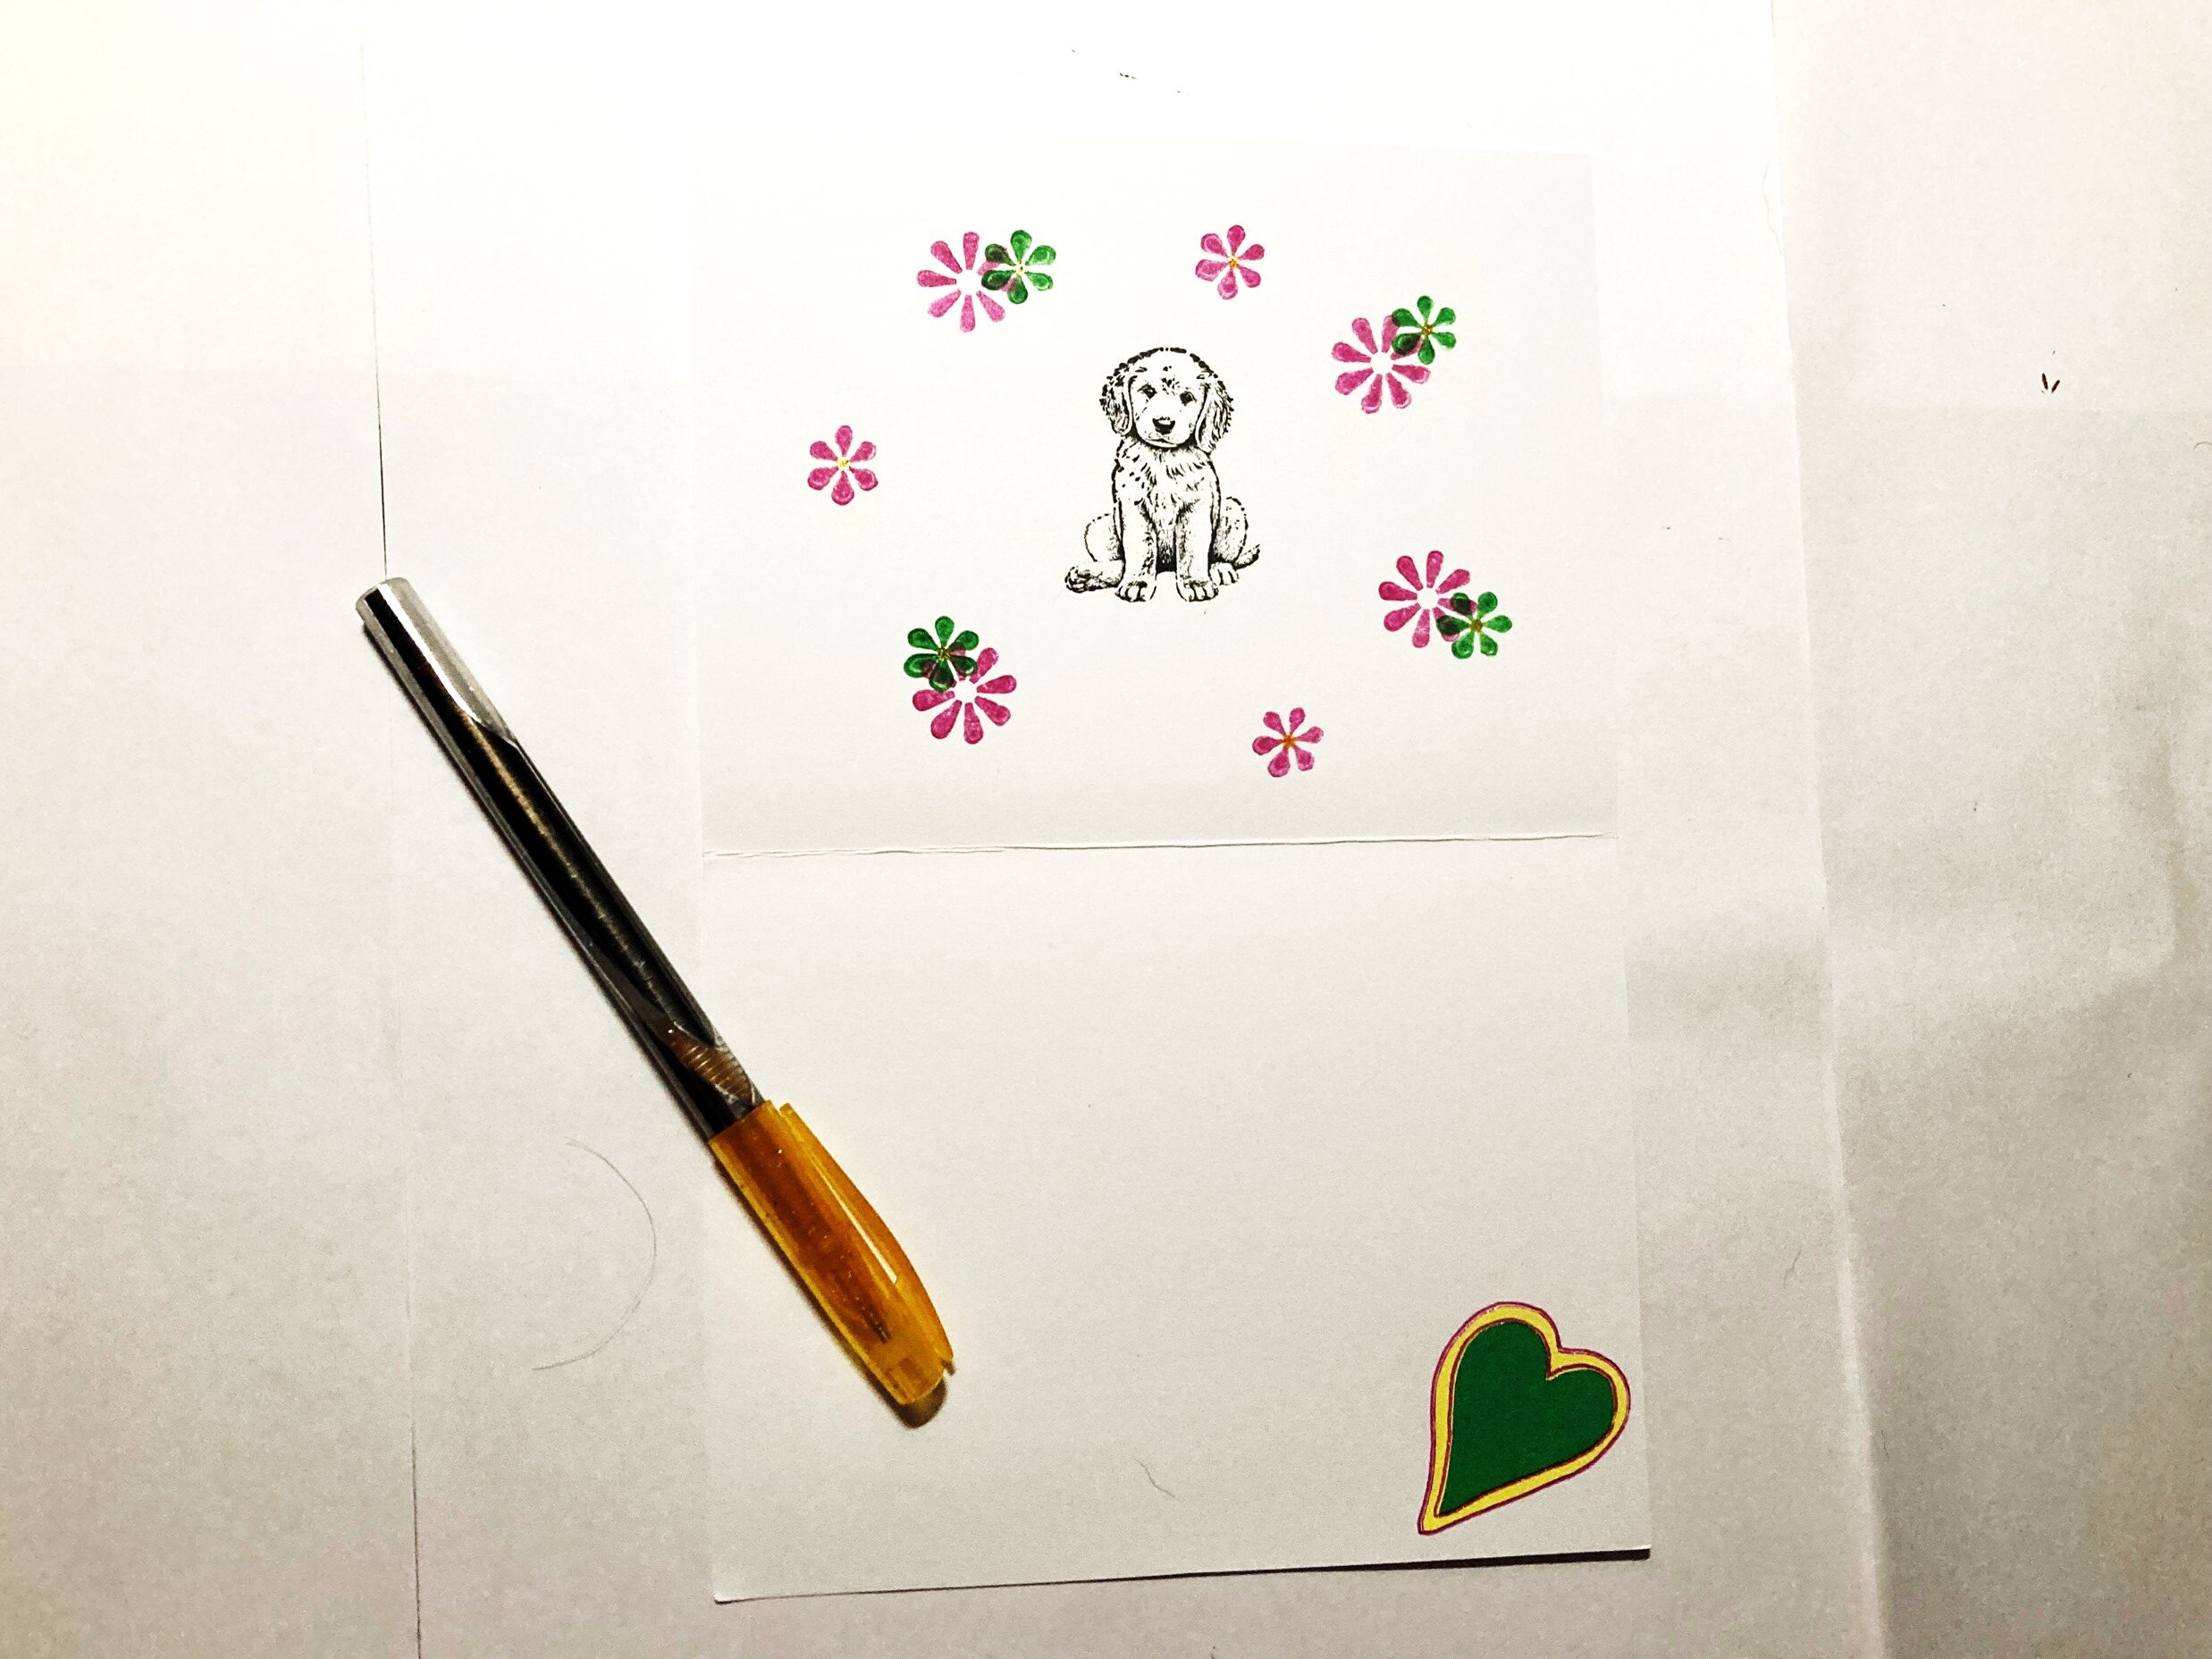
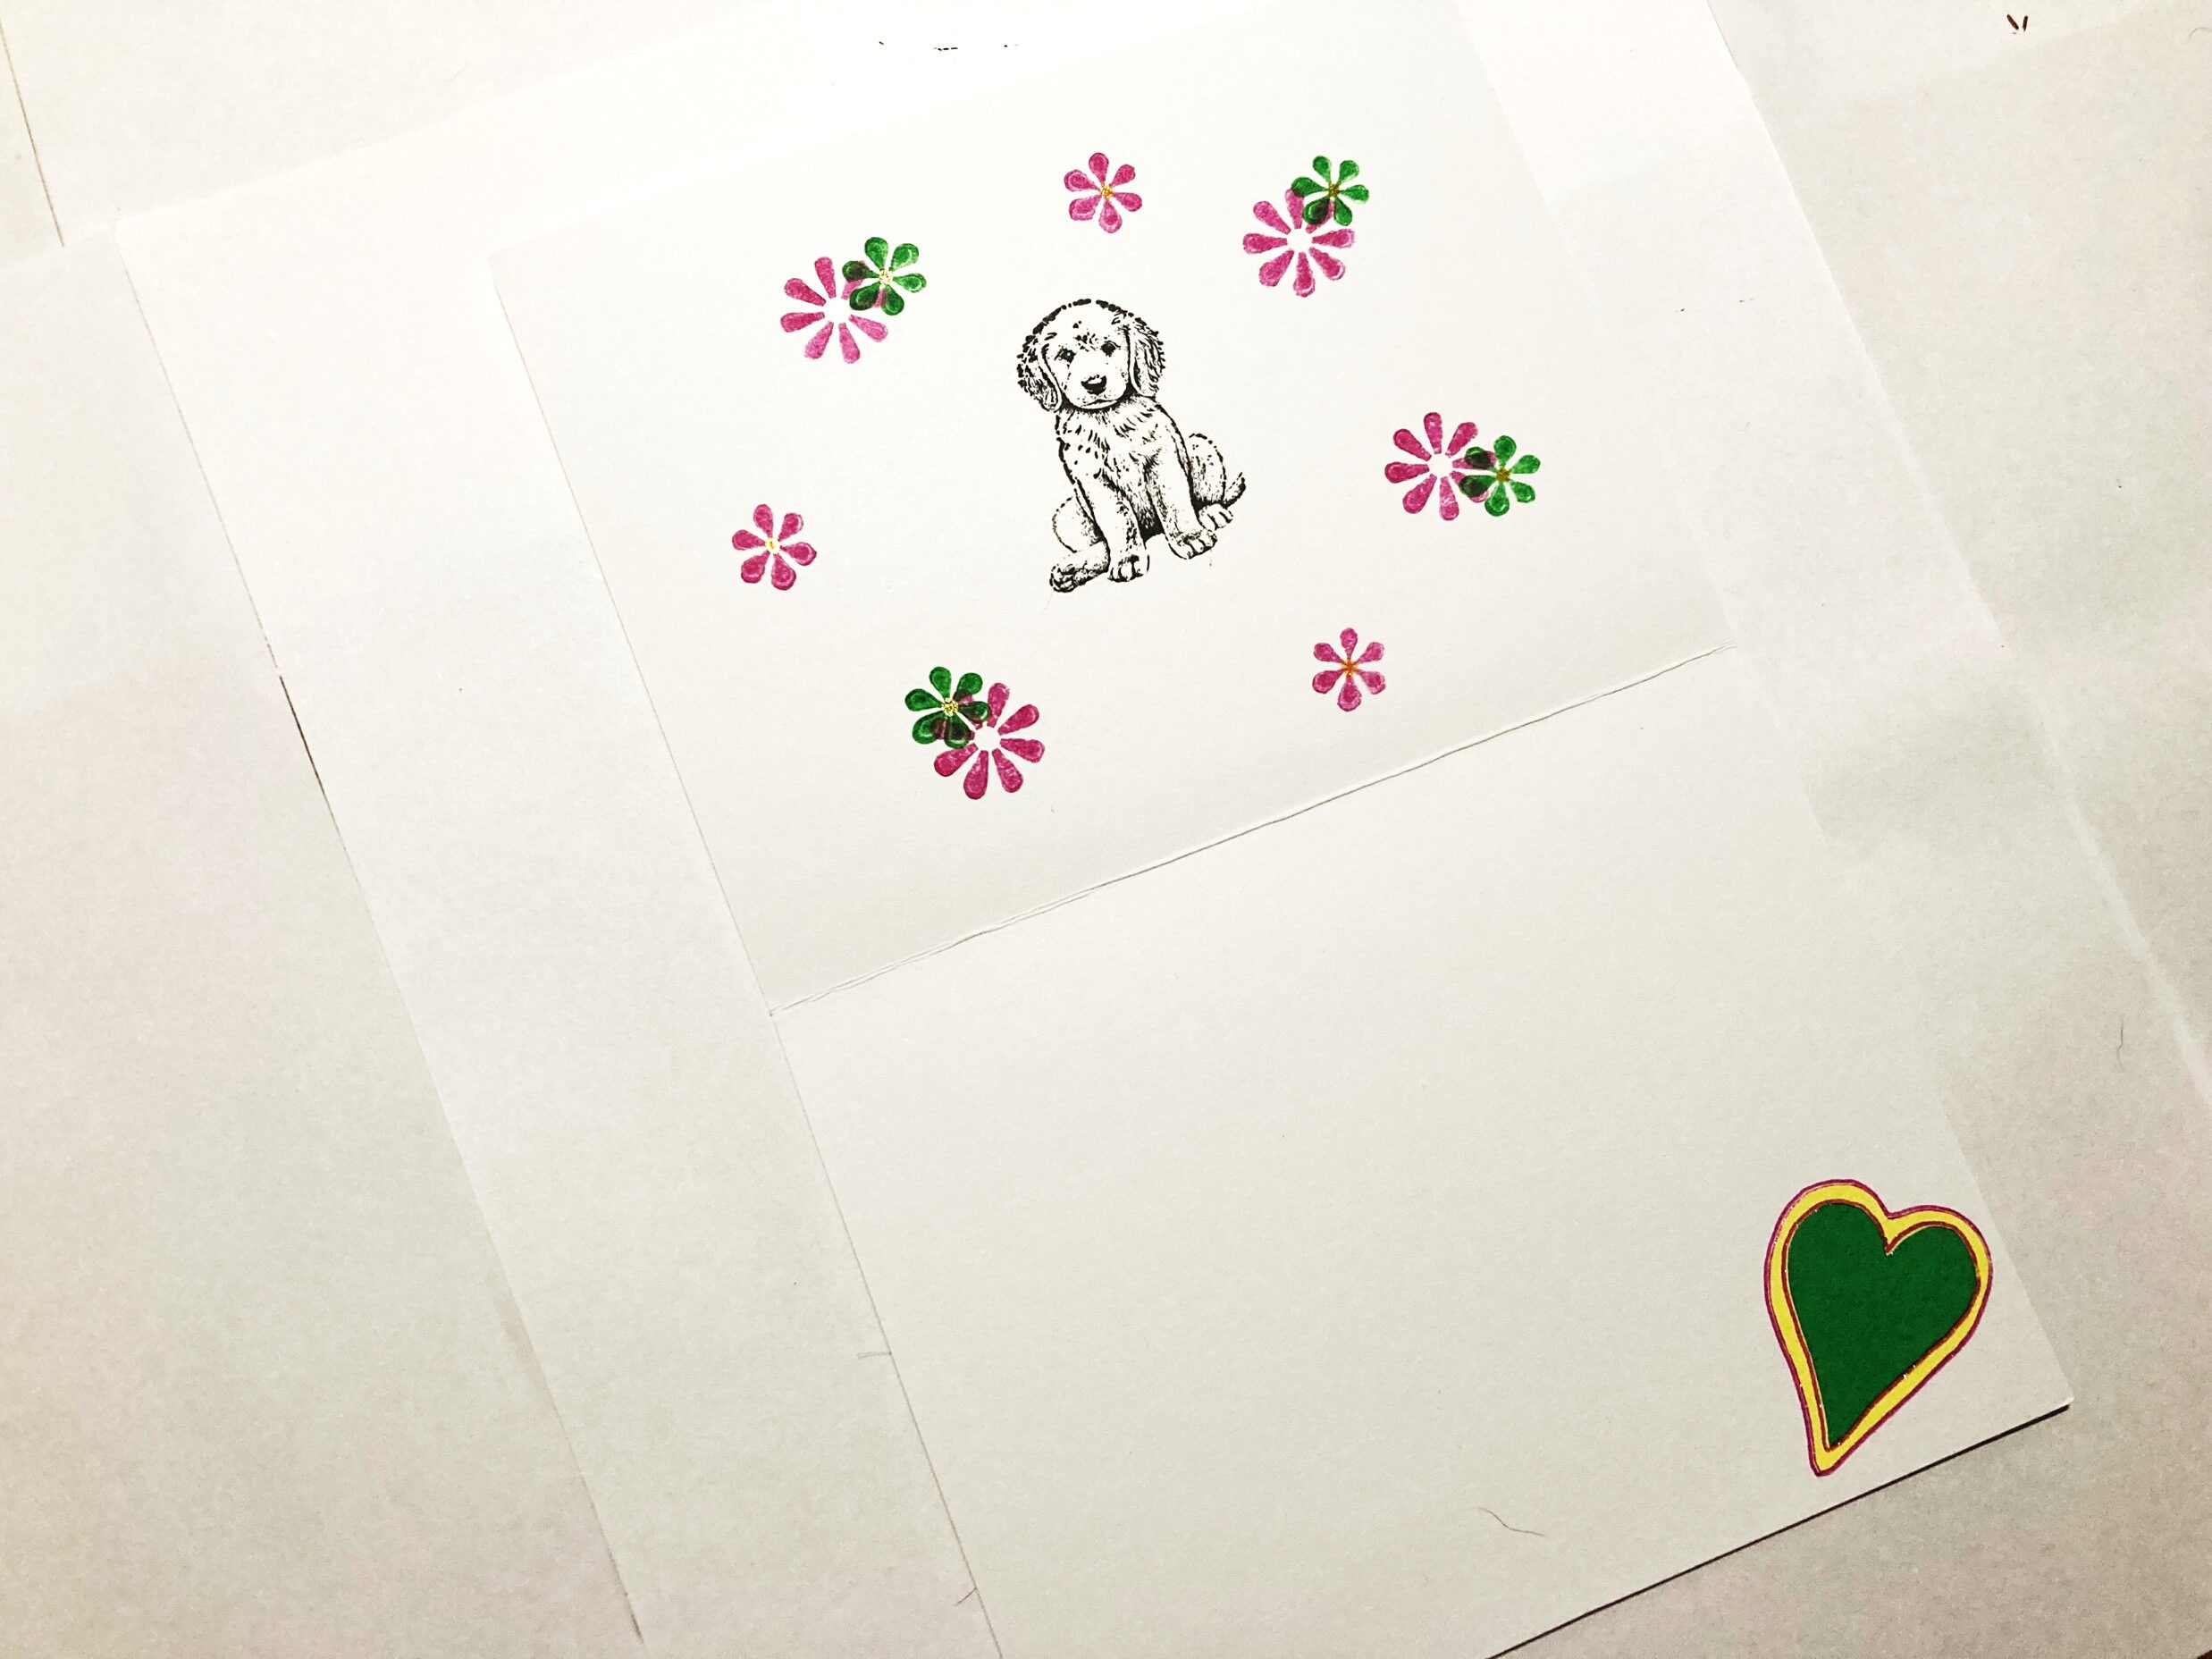
7. Choose Bottom Corner Accent
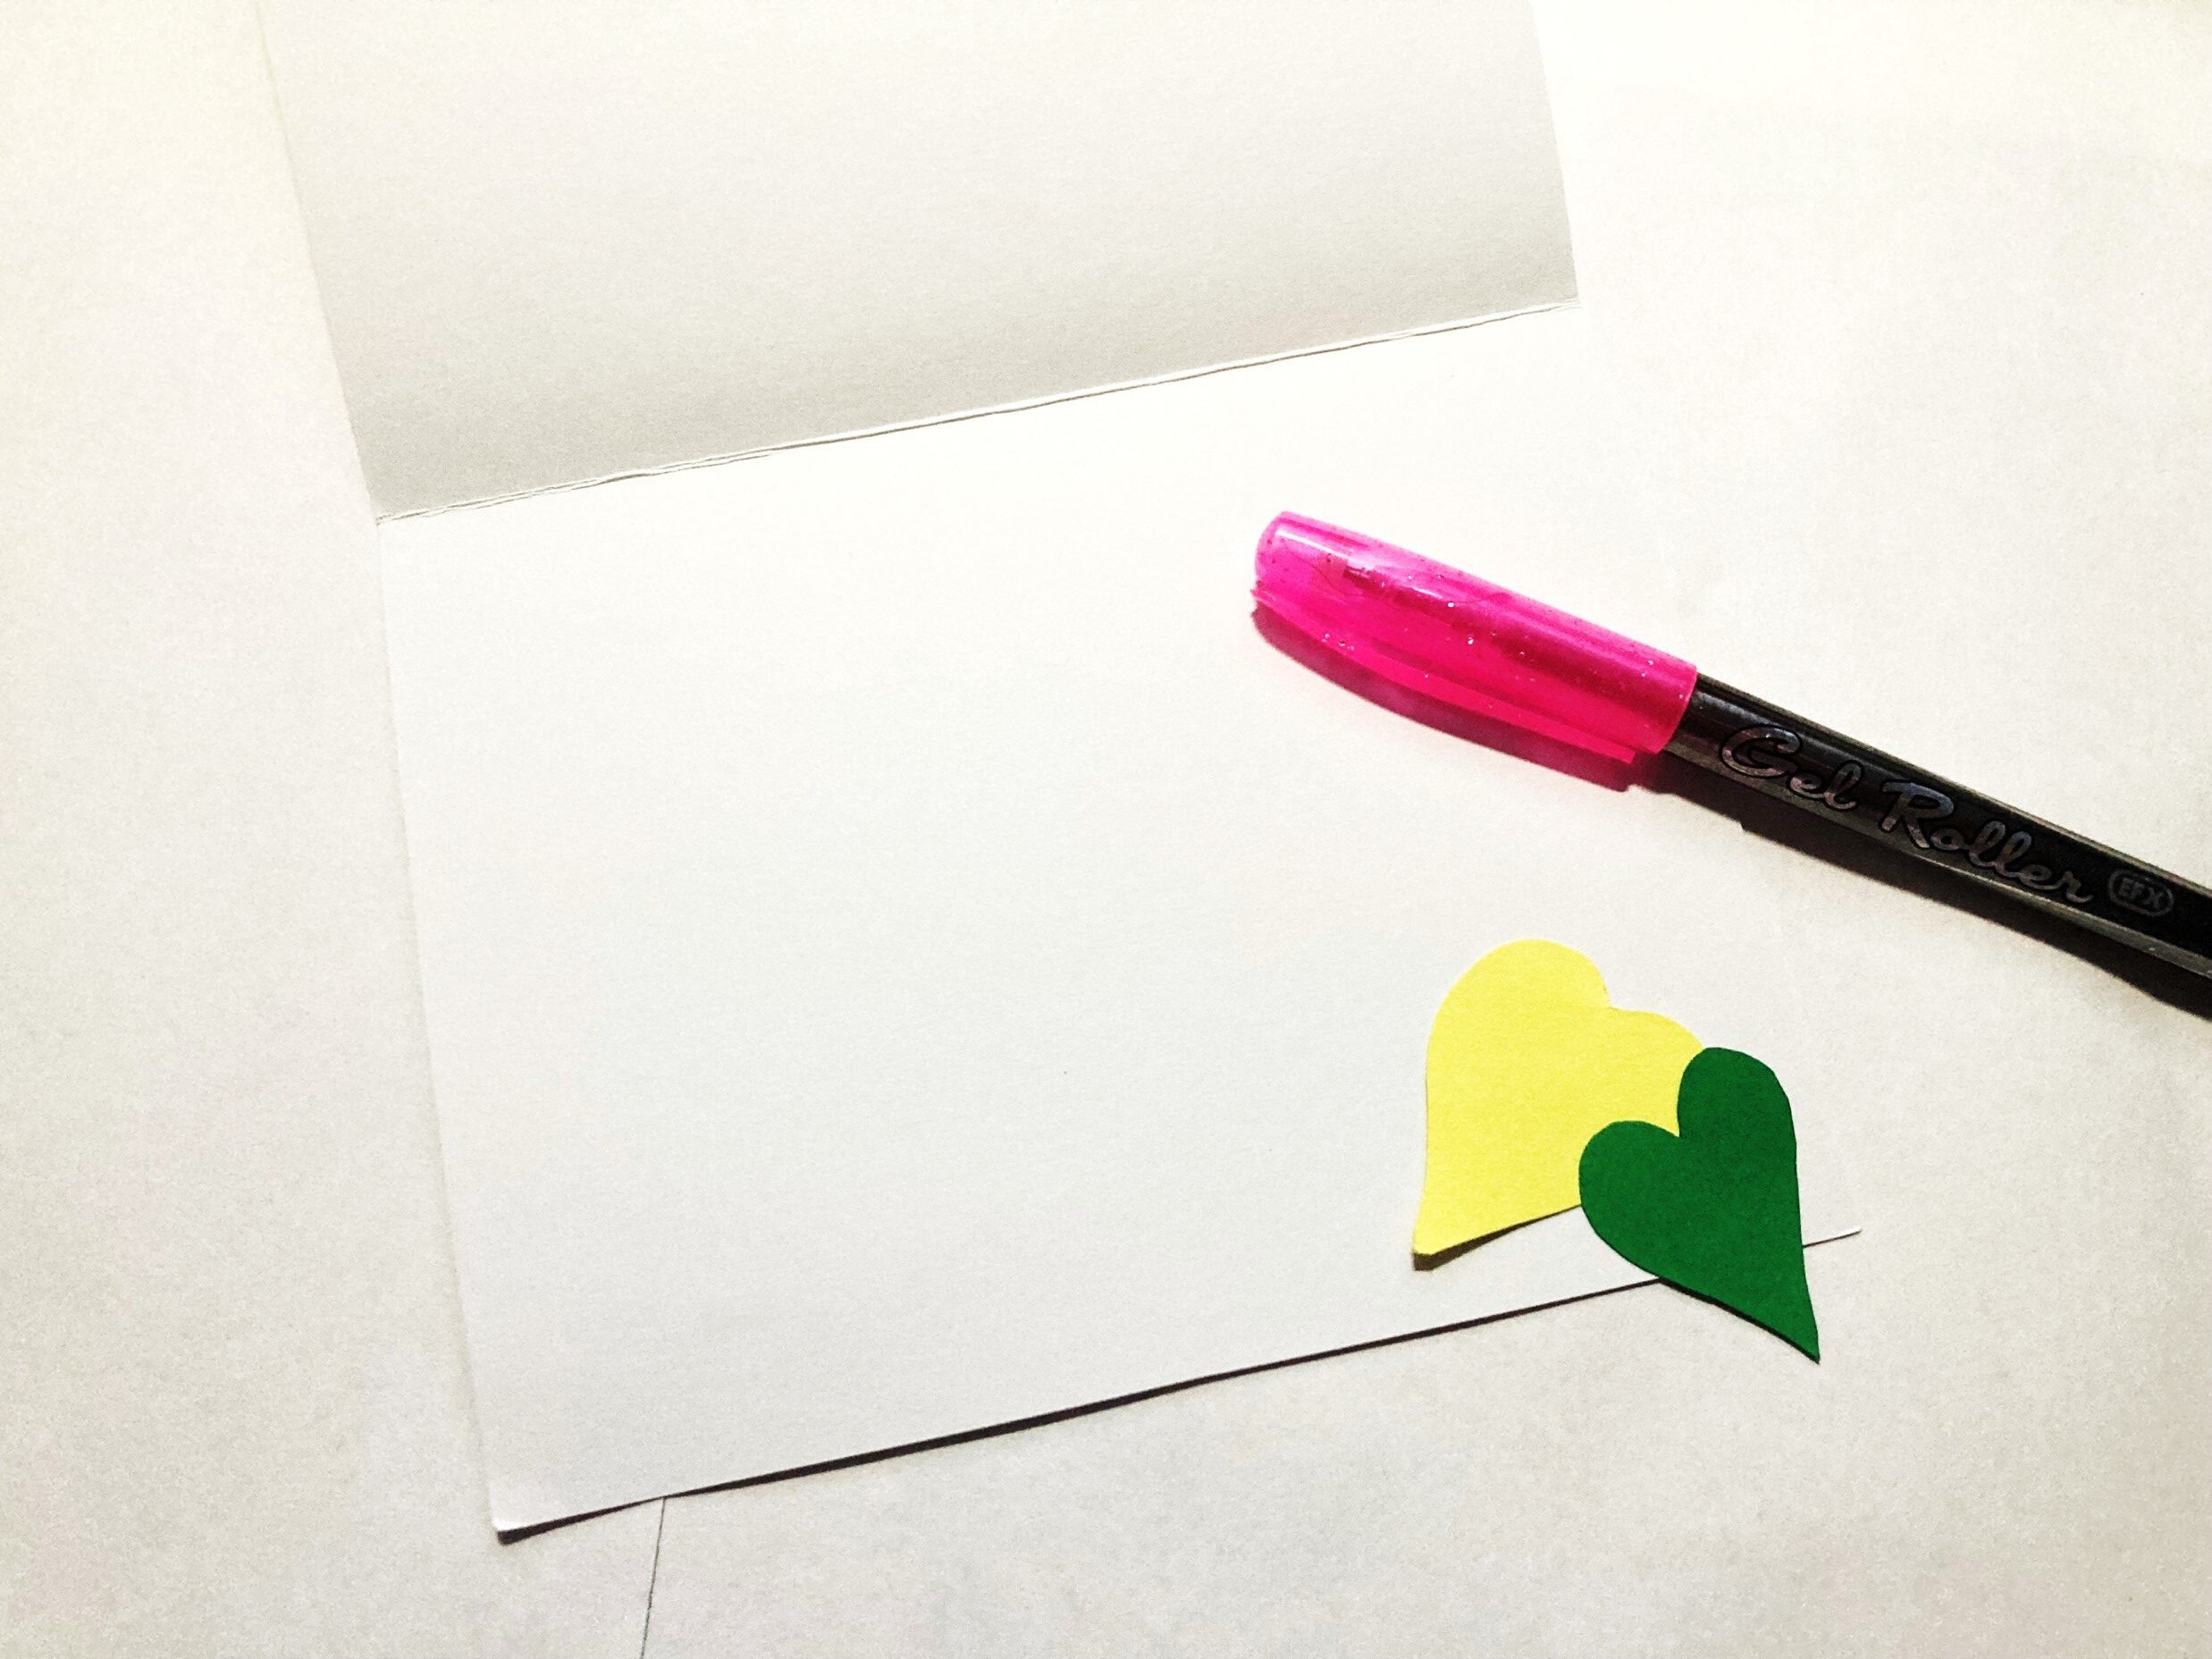
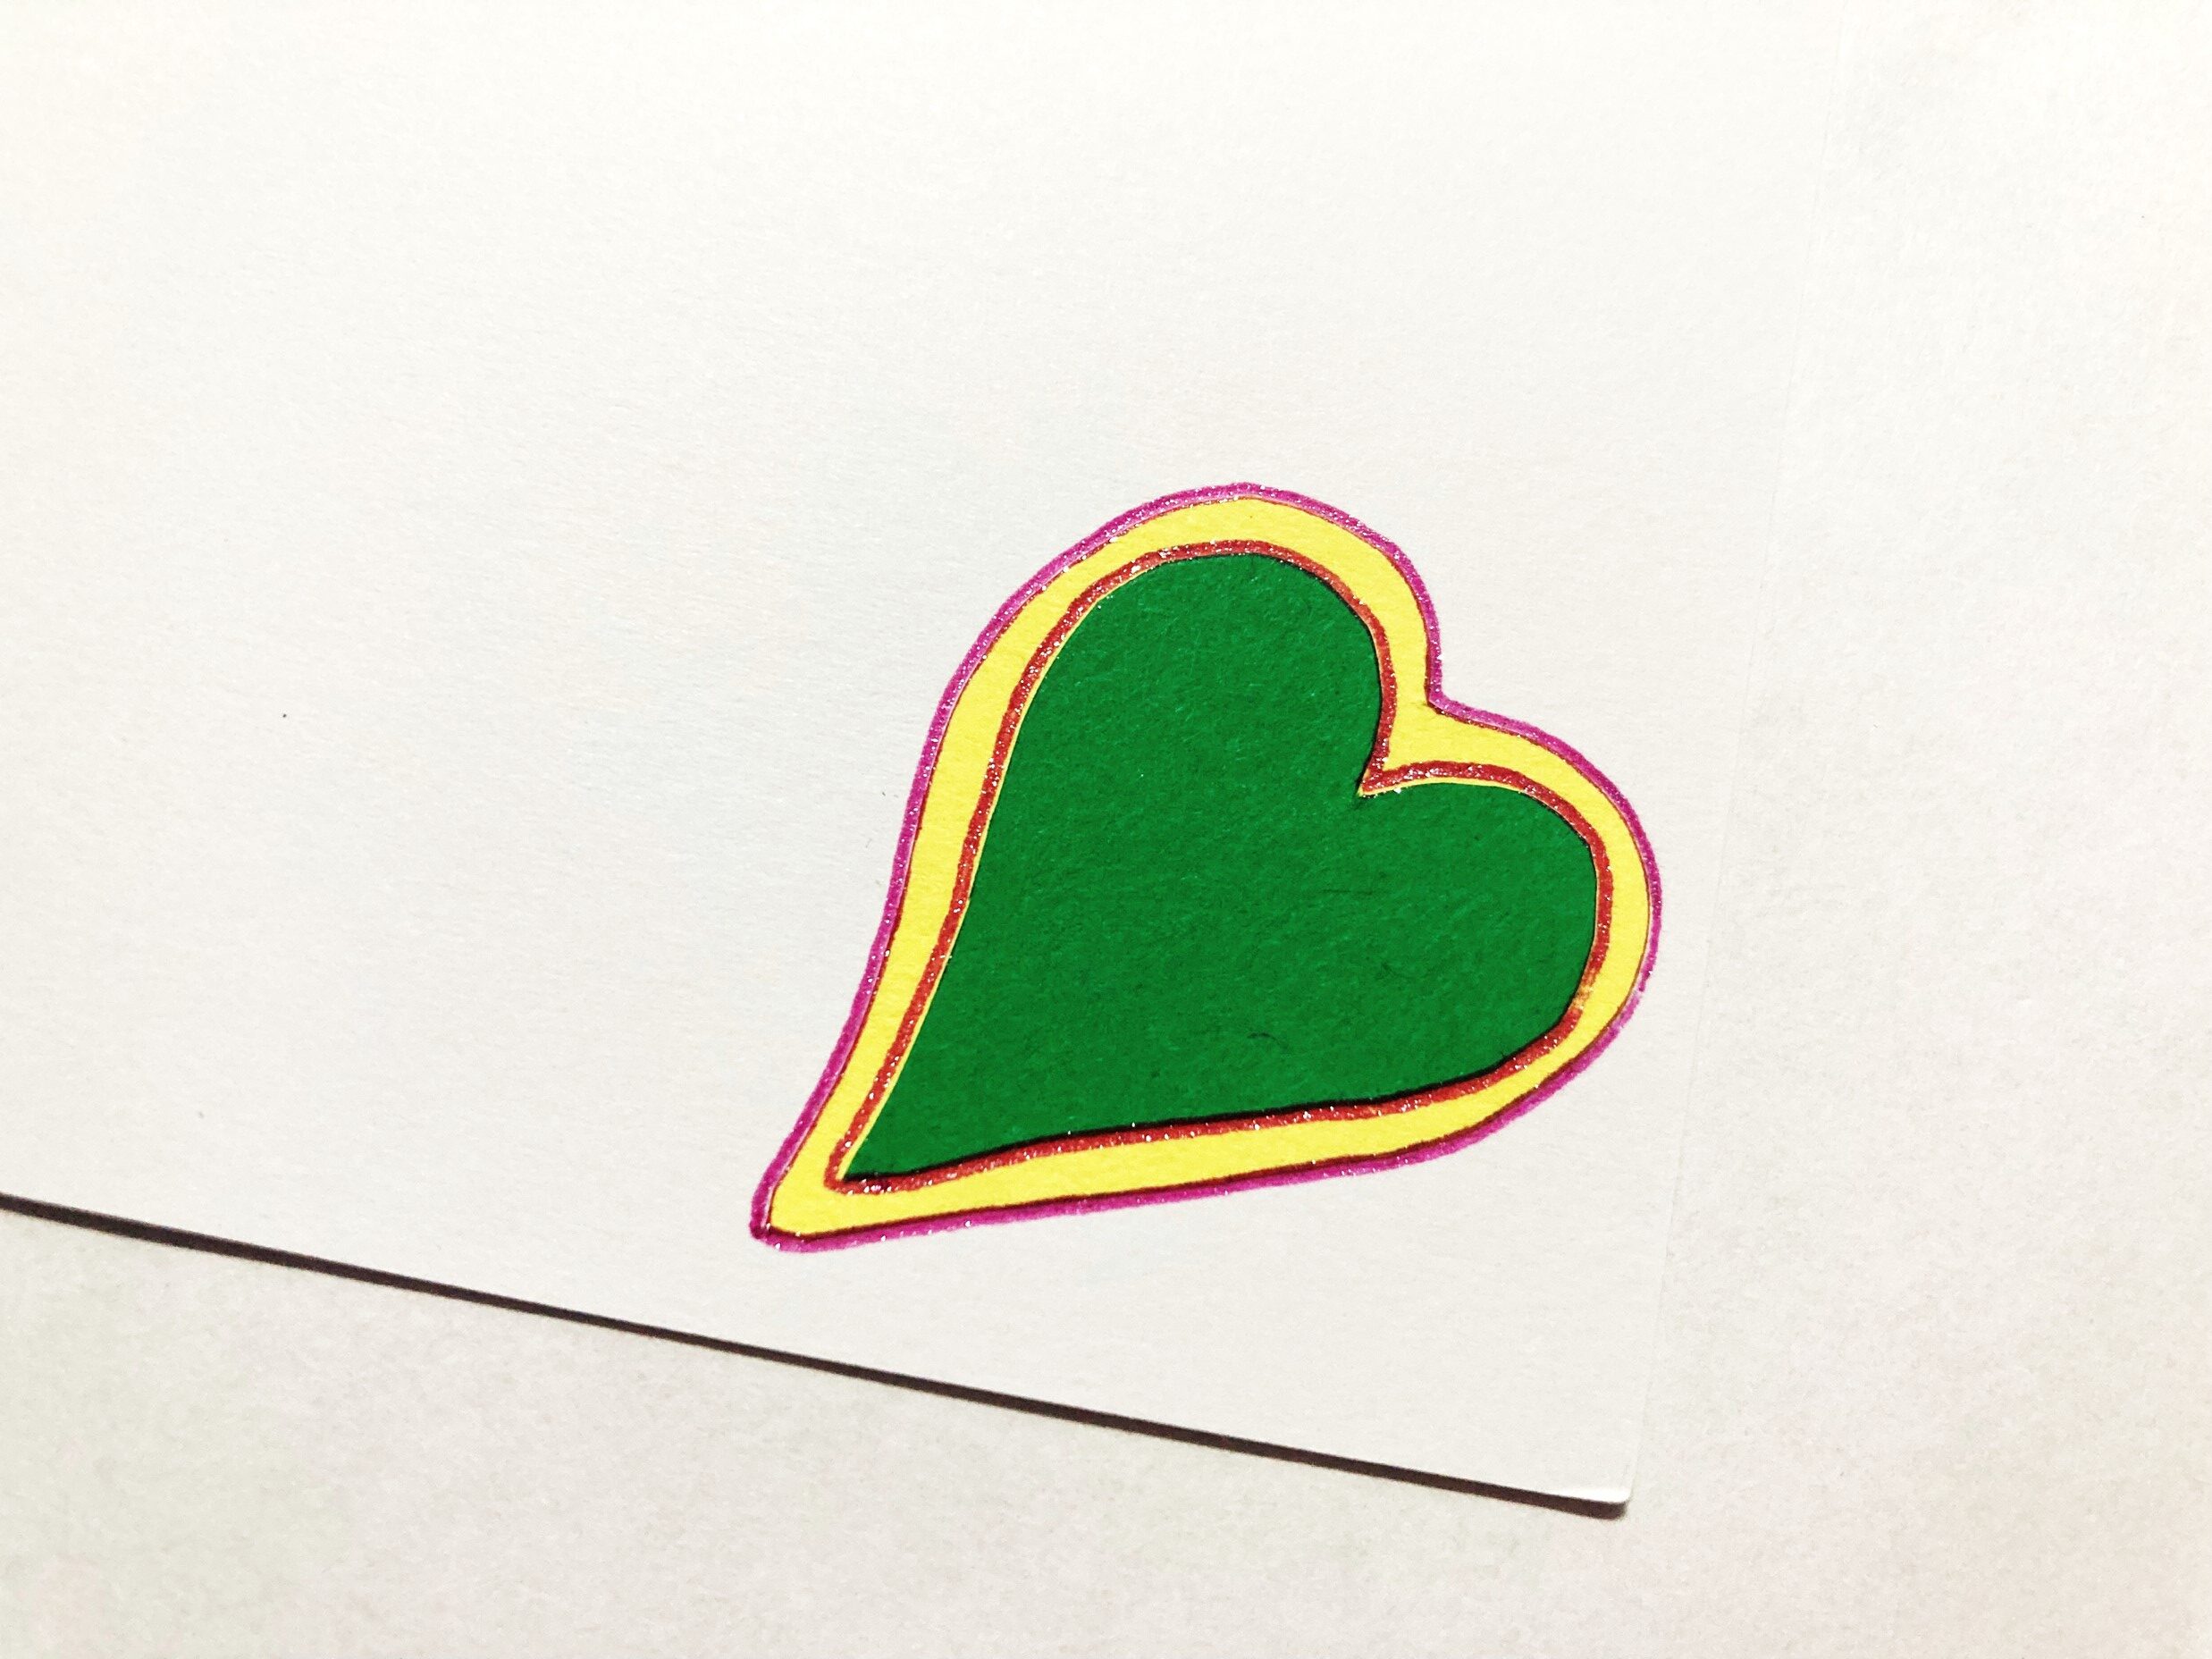
I always put some kind of accent in the bottom right corner of my cards. It just looks off balance when I don’t!😊
This accent was actually quite easy to make- I cut out two hearts from my cardstock, one slightly larger than the other. I then glued them together and into the corner. The final step was outlining (again 😊) with a glitter pen!
TIP: Use stickers or rubber stamps to make this accent even easier!
8. Top Half of Inside of Card
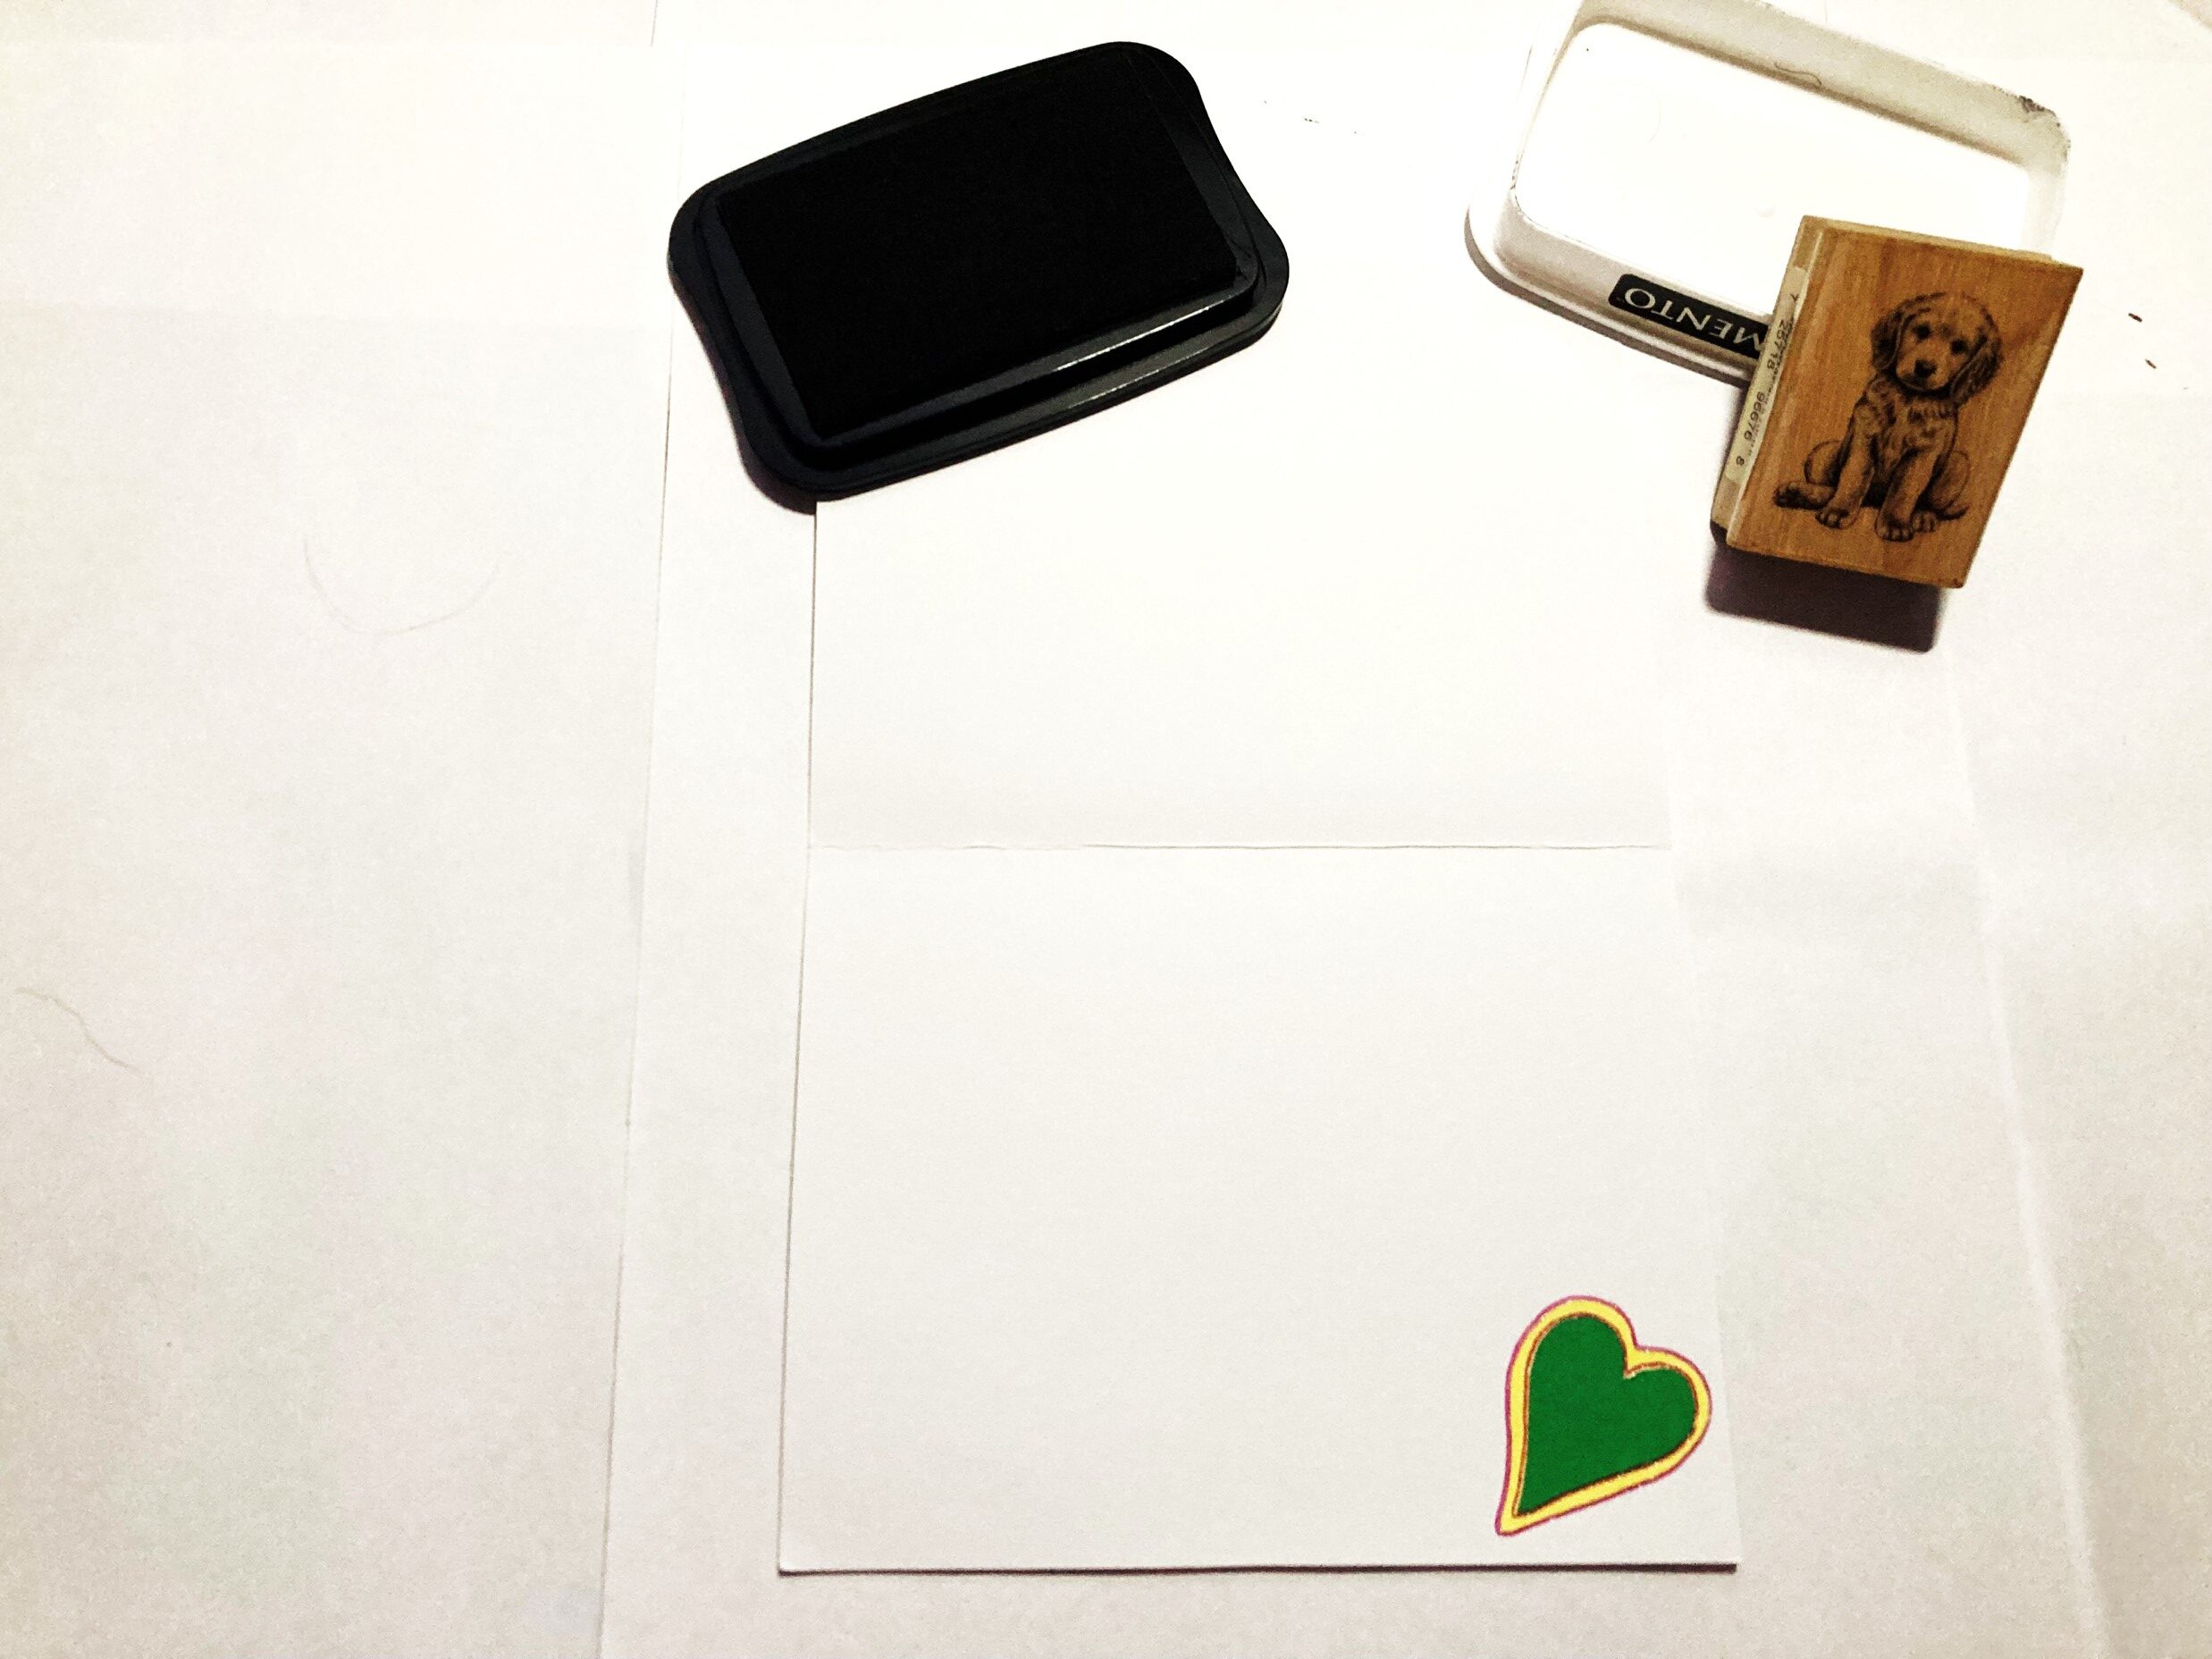
I’ve been making cards for over 7 years, and I still struggle with what to write in the top half of the inside of my cards…
My advice is to let your imagination take control. Write a short poem or message especially for the person receiving your card, tell a joke or riddle, or doodle something crazy! My standby is always my favorite rubber stamp, an adorable puppy from Hobby Lobby! 😊
I also used a few flower stamps and a yellow glitter pen to fill in the centers of the flowers!
TIP: Keep your occasion in mind while you’re creating!
AND… You’re Done!
Thank you for checking out this easy DIY card tutorial! I hope you found it helpful and fun to make! I’d love to see what yours looks like, and I’m always open to suggestions for improvement. Let me know in the comments what other ideas you’d like to come alive through my tutorials!
God bless, and as always, know that a busy schedule needn’t keep you from crafting!